Vibe Code: I Built a Markdown Editor From Scratch With Claude Code (FrankMD) PART 1
In the last two posts I just wanted to beat up on LLMs to show how hard it is to build something simple from scratch, let alone “build GTA 6 from scratch”, as some idiots believe.
I’ve been saying this for years: I LIKE LLMs, I use them a lot since they came out, and I’ve never had a problem with them. My problem is calibrating the UNREALISTIC expectations of “normies”, non-programmers: you’re never going to get an app like this with a handful of prompts without knowing exactly which components and techniques to use underneath.
This time, I decided to tackle another little problem that had been sitting on my todo-list for a while: having a self-hosted note-taking web app (to put on my home-server. Over the years I’ve used everything: Evernote, Notion, Obsidian, among others, but none of them really pleased me. So why not build my own exactly the way I want?
I’m going to split this topic into 2 articles: in this first one, I’ll talk exclusively about my application; in the second one, I’ll talk about the process of vibe coding with Claude. Spoilers: it took 3 full days (roughly 30 hours). 137 pull requests! Wait for the post-mortem.
The Problem
Overall, this is just me being fussy. Keeping notes shouldn’t be complicated: create a directory on your machine, open LazyVim, VSCode or whatever, done: edit the Markdown as pure code and be happy.
Anyway, recently I was just using Obsidian on a shared directory in my Dropbox. That way I could access it from my phone if I needed to. But it’s a pain because if I’m on another PC, I need to have Obsidian or some other editor installed. If I have plugins, I need to install those too.
In practice any other text editor would do: they’re just text files, but the inconsistency of having something different in each place, all misconfigured, demotivates me from writing.
In particular, I was using Obsidian and, later, LazyVim to edit my blog posts, which are also in Markdown. And here I have a bigger set of problems:
- there’s a specific path and Hugo frontMatter; I have to be careful with the title to generate the right slug, etc.
- there are images/screenshots that I keep manually uploading to S3, grabbing the URL and pasting into the post
- I avoid using tables because “drawing” tables directly in Markdown is a pain
- I keep Google Images, YouTube, etc. tabs open so I can keep grabbing links, alt-tab, and paste
- there’s no good preview, so I let a lot of little errors slip through (duplicated image url, for example)
- there’s no good spellchecker, so lots of little typos get through that I then have to keep fixing
I wanted to solve all these problems in one place: a beautiful editor like Obsidian that would fix all these inconveniences and let me focus only on my text.
FrankMD
Frank Rosenblatt was the creator of the Perceptron in 1957, which gave rise to modern neural networks. Since I built this editor entirely with AI, I decided to pay tribute to Frank.
So I named it Frank Markdown or Frank Editor (fed). This editor has all the basics you would expect in any editor:
- syntax highlighting
- HTML preview
- markdown formatting helpers (Ctrl-B for bold, for example)
- customize font family and size
But then I started adding some things specific to my personal taste and/or that would make my life easier for editing my blog posts. Let’s go.
Image Insertion
This is an important part for me. When I write posts about code, I’m always taking screenshots of my terminal or editor to illustrate. The process is a print screen that sends it to ~/Pictures/Screenhots. I open Nautilus (I’m on Linux) and run a little script I made to upload that image to a bucket on my AWS S3. I copy the generated link and add it to my post.
It’s “a little annoying” doing this every time. On top of that, sometimes I’d like to resize the image to make it more optimized. But that means going to the terminal and running magick screenshot.png -resize 50%, which is another manual step.
So I decided to make a dialog box with several options for this.
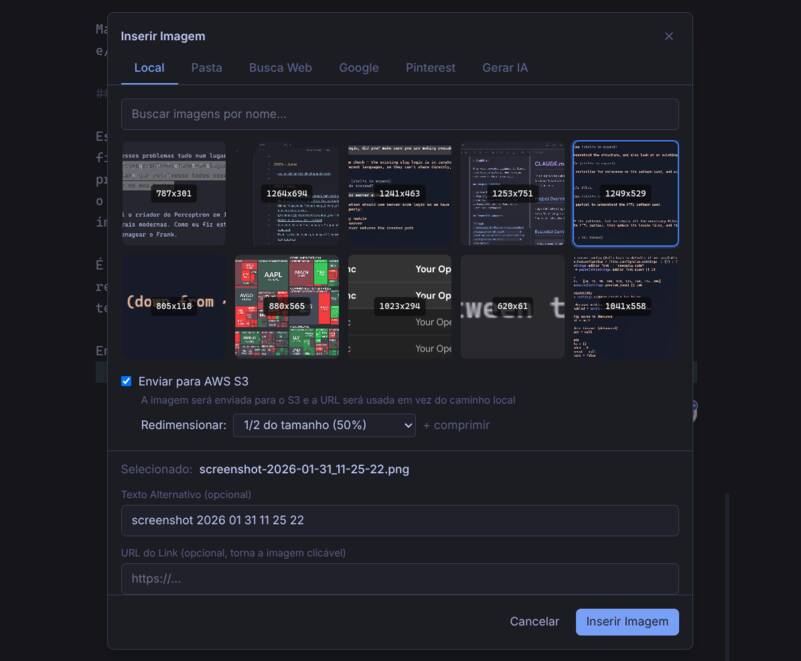
By default, I can configure a main images directory on my PC and it will display a grid limited to the 10 most recent. Or I can filter by name. There’s an option to link directly (in case I want to upload the image along with the html) or to serve from S3 and it will copy the generated link automatically (which is what I prefer).
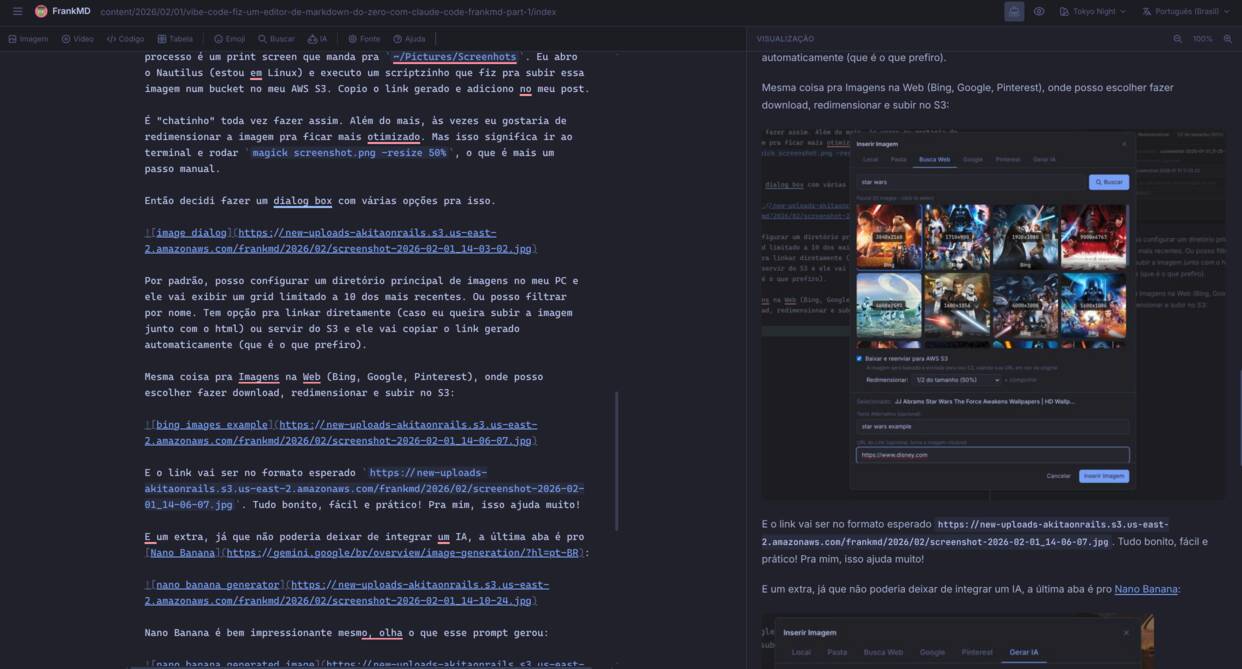
Same thing for images on the Web (Google, Pinterest), where I can choose to download, resize and upload to S3:
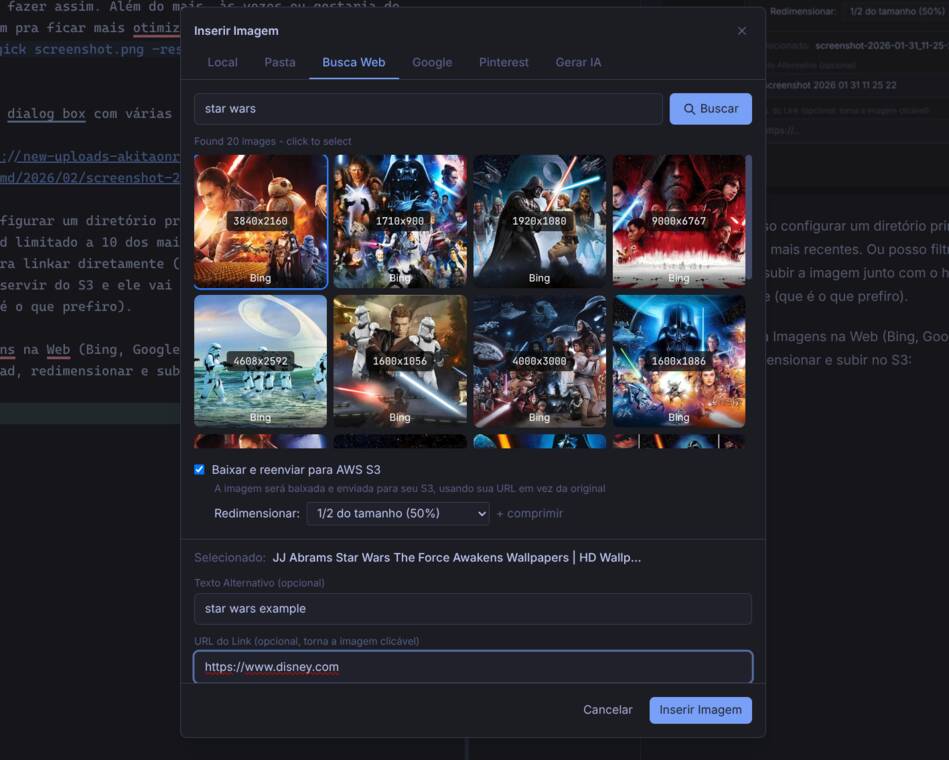
And the link will be in the expected format ...amazonaws.com/frankmd/...jpg. All pretty, easy and practical! For me, this helps a lot!
It’s an extra, since I couldn’t skip integrating an AI; the last tab is for Nano Banana:
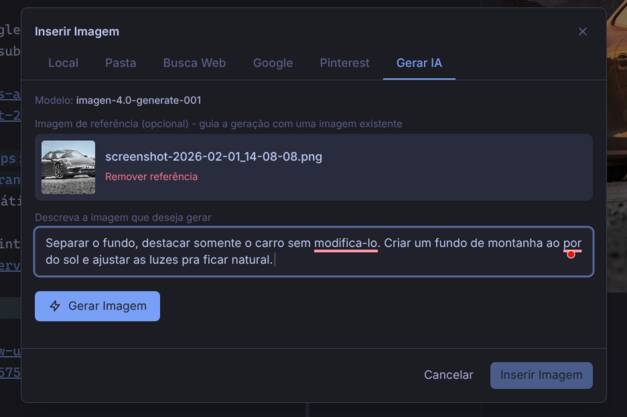
Nano Banana is really impressive. Look at what this prompt generated:

Even more important: I can see the preview immediately (ctrl-shift-v) to know whether I inserted the right image (something I used to screw up a lot editing in NeoVim, without seeing it):
For me, these image insertion helpers are the ones that are going to help me the most when editing my blog posts.
Markdown Helpers
Simpler than an image is embedding a video player. I can either pass any link with a random .mp4 file, or I can directly search YouTube and embed it properly:

It will insert the correct HTML, <embed ..., with the right URL and title.
I also built an easy way to add and edit tables:
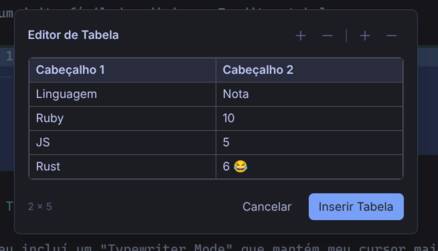
And it will generate the Markdown just right. Never again do I have to sit there editing that garbage by hand to readjust columns or rows.
| Cabeçalho 1 | Cabeçalho 2 |
| ----------- | ----------- |
| Linguagem   | Nota        |
| Ruby        | 10          |
| JS          | 5           |
| Rust        | 6 😂        |
But if you want to do it manually, you can also do that:
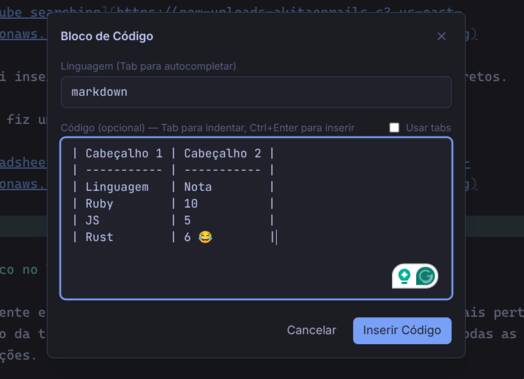
I added this mostly because it would be weird to leave it out, but in general I prefer to write code blocks manually. But there it is for anyone who wants a visual mode.
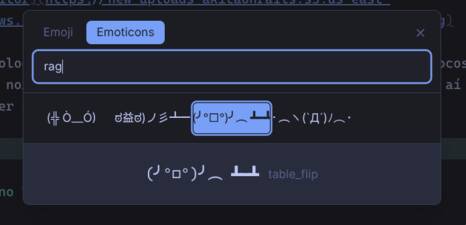
Then, of course, it had to have an easy way to edit Emojis 😆 (ctrl-shift-e):
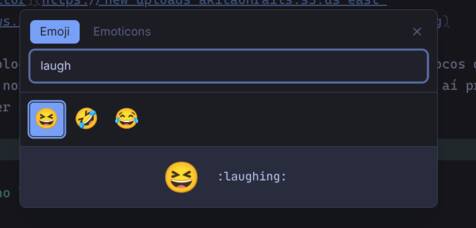
But what nobody would expect is that I also offer support for Emoticons!! ☆:.。.o(≧▽≦)o.。.:*☆
Customization
Speaking of Emoticons, that reminds me that I wanted this editor to be infinitely customizable. For example, of course I added internationalization and it has Japanese!!
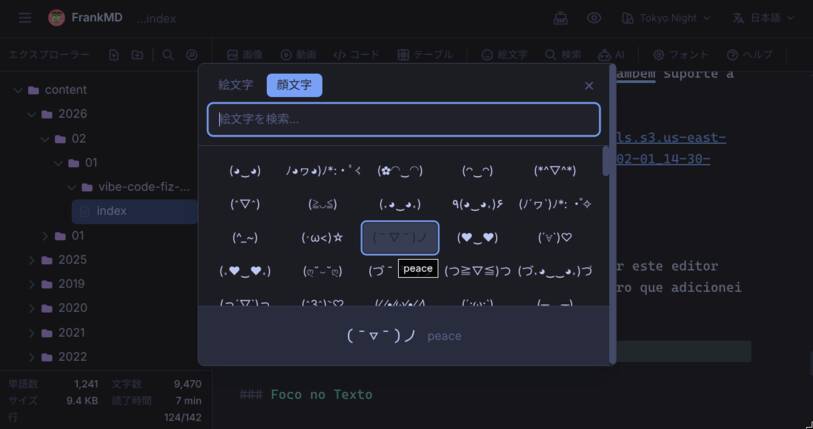
And other languages too; go poke around later. It has Portuguese too!
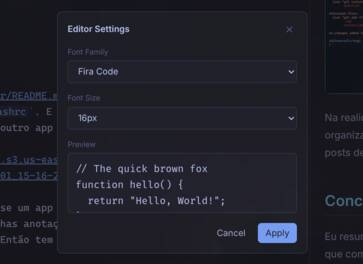
“What’s the best font for programming?”
Who knows! That’s why I added several to choose from:
Since I use Omarchy, I also wanted my editor to support exactly the same themes:
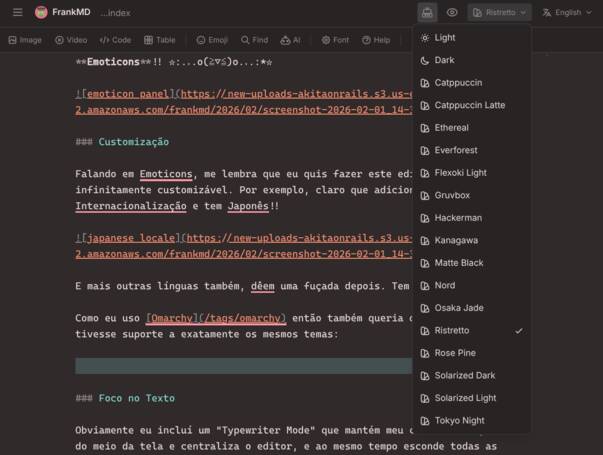
In the README everything that can be customized is documented. You can customize many things through environment variables and also through a .fed file, automatically created in the directory where you open this editor. There’s plenty, so I recommend poking around.
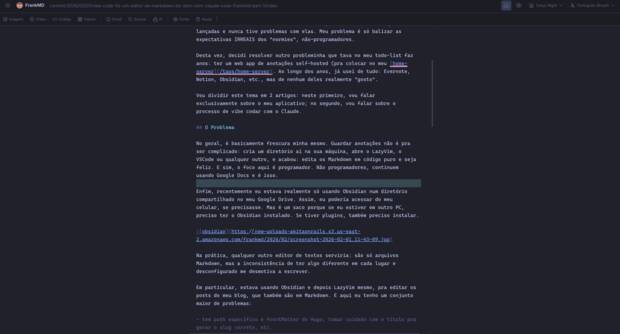
Focus on the Text
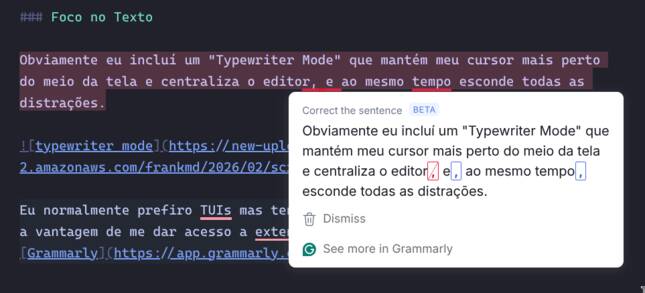
Obviously I included a “Typewriter Mode” that keeps my cursor closer to the middle of the screen and centers the editor, while hiding all distractions.
I normally prefer TUIs, but I have to admit that using a browser has the advantage of giving me access to extensions. The most useful one, without a doubt, is Grammarly, for any language:
But beyond that, I added an “AI” button in the toolbar (which is configurable via ENVs and a config file — read the README). And it does this:
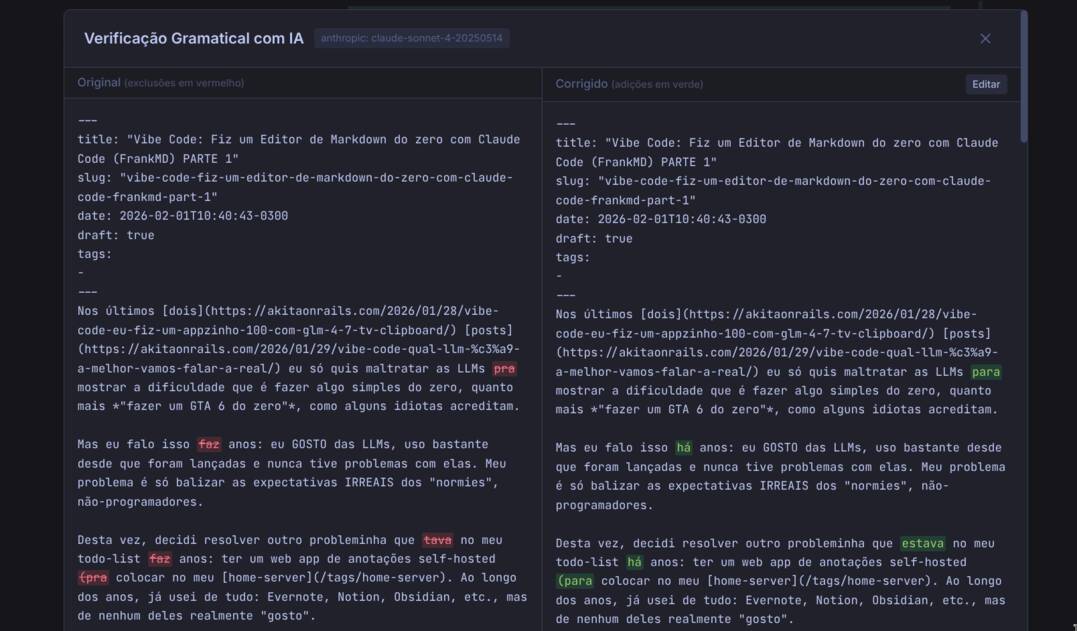
It sends to your LLM of choice (local Ollama, OpenAI, Anthropic, OpenRouter, etc.) with a prompt telling it not to rewrite your text, only to check grammar, spelling and errors of that kind. Then I return a “diff” interface to compare and accept, edit or cancel.
I think Grammarly alone is already enough, but it cost nothing to build this one, so I built it.
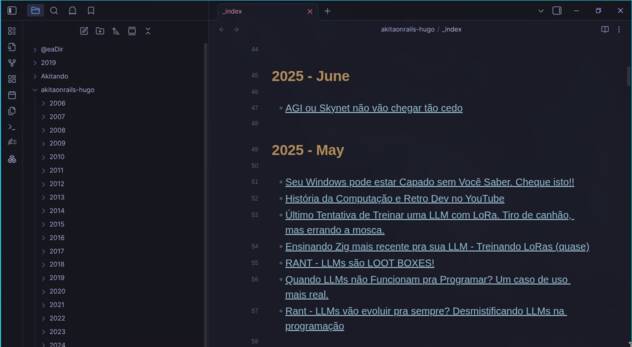
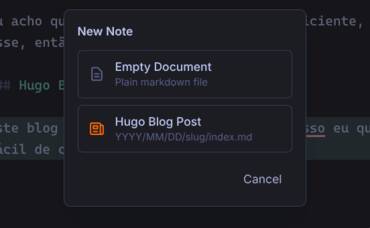
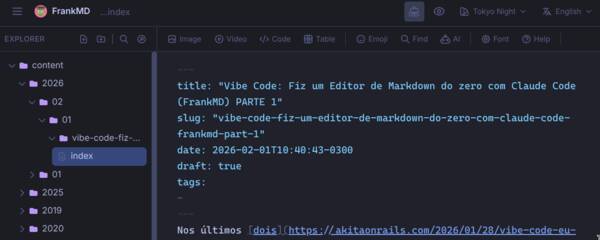
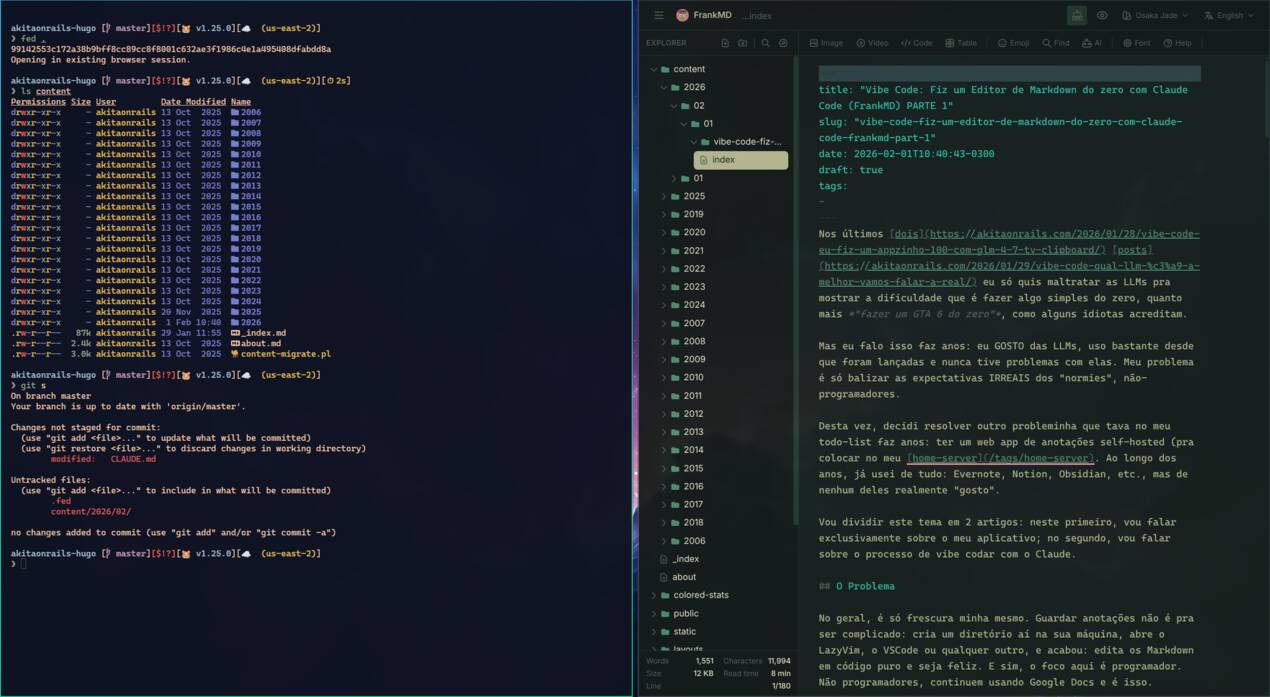
Hugo Blogging
This blog is made with Hextra/Hugo. That’s why I wanted to already bake in an easy way to create new articles in Hugo. It starts right from the option to create a new document:
And it already creates it with the frontMatter, automatic slug generation, timestamped subdirectories and all the rest:
Like I said, this editor was built mainly to make my own workflow easier.
Self-deploy vs CLI
Originally I thought of this project as a Notion-light or something like that. A web editor that would deploy to my home server and serve only as an organizer, a place to put notes bigger than a post-it (like the history of my Linux configurations, step-by-step commands, etc.).
But as I kept building the app, more and more it grew and started looking like a desktop app. But by then it was too late. I wanted to use Ruby on Rails 8 (to shake off the rust and because I like it). Only halfway through did I think I should have done it in Node, because now I can’t embed it in an Electron app anymore.
Fine, the idea is to be a Markdown editor for programmers. Every programmer has Docker. So I wrapped it in a little shell function and I can just land in any directory on my Linux and type:
cd ~/Projects/akitaonrails-hugo
fed .
Read the README of the project to learn how to add it to your .bashrc. And doing it this way, it will work on my Omarchy exactly like any other native app:
In reality, I’ll use both ways: as if it were a native app. And as self-hosted, to organize a central place with my notes — which will be separate from where I organize my blog posts. So it really does have multiple uses.
Conclusion
I’ve summarized the features; there are several little things you’ll discover as you start using them. Everything is clickable; if you click on the app title, there’s an About:

Right-click on top of selected text has a formatting submenu; Ctrl-I works for italic; Ctrl-H has a basic “find and replace”; there are a bunch of keyboard combinations to access things.
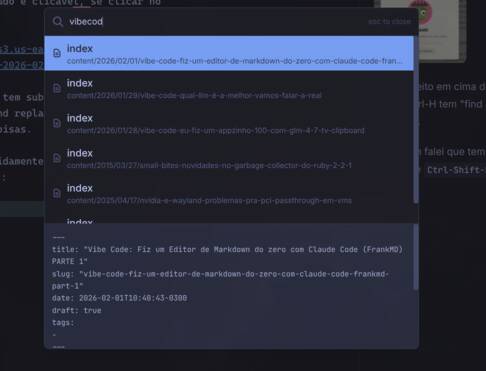
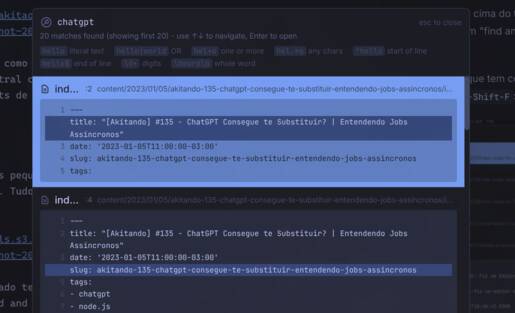
Oh right, I didn’t even mention that you can quickly search files by name or by content using Ctrl-P and Ctrl-Shift-F:
To make sure everything is working, this very article was written entirely with my new editor. And I’d say that, if it isn’t perfect (for me), it’s at 99%. Feel free to open Issues with bugs or features that would make sense — remembering: the idea is to stay away from replacing VSCode and having EVERYTHING. I need it to have only ENOUGH.
Considering it cost me 3 days of work and that I didn’t write a single line of code, the result is impressive. Yes, text editors are very well documented applications with tons of training material — that’s why Claude managed to build it without trouble. Don’t get too impressed. That said, yes, I wanted a custom editor for my personal use, one that would be beautiful to use, and it managed to deliver, so I’m satisfied.
Don’t miss PART 2 for the details of how this was built.