Accessing My Home Server With a Real Domain
Now an advanced tip that complements my article about my Home Server. In short, besides my desktop PC, which now runs Omarchy, I have a mini-PC (a simple Intel NUC, it doesn’t need to be very powerful), exclusively to run Docker containers.
I have a nice Synology DS1821+ that also supports running Docker, but I prefer to keep the NAS doing only NAS duties and avoid risking my data by running other stuff on it. Having a single server that does everything isn’t a “problem” per se, but since I can, I prefer to separate things.
This Intel NUC runs a headless Ubuntu Server LTS (no desktop manager), which I access only via SSH (as I explained in the previous post about SSH). On it I run things like Portainer, Plex, Sonarr, Bazarr, qBitTorrent and much more.
The way it’s set up, I just added an entry to my desktop’s /etc/hosts like this:
192.168.0.100 synology.lan
192.168.0.200 plex.lan
From now on all my domains and IP addresses will be fake, obviously.
Anyway, this way I can open my browser and go to http://plex.lan:32400 to access my Plex, for example. But this has three disadvantages:
- I can only use these hostnames on my desktop; from my laptop I’d need to edit the hosts file too. On top of that, I need to know the ports for each container.
- I have no SSL for anything, so all authentication goes in plain text. It’s not a huge problem because the traffic is only internal on my local LAN. I haven’t been accessing it from outside the house.
- If I ever want to access it from outside, none of this works.
There are dozens of ways to solve this problem, solutions involving WireGuard, or commercial solutions like TailScale and so on. But there’s a reasonably simple solution that solves all the problems at once: Cloudflare Tunnels.
The idea is to create secure tunnels via Cloudflare to access my services on my internal LAN WITHOUT having to expose ports outside my router or anything like that. My network stays isolated and unchanged.
1. Registering a Domain
The first recommendation is to register a real domain. Doing this lets you have real SSL certificates that Cloudflare itself manages and renews automatically.
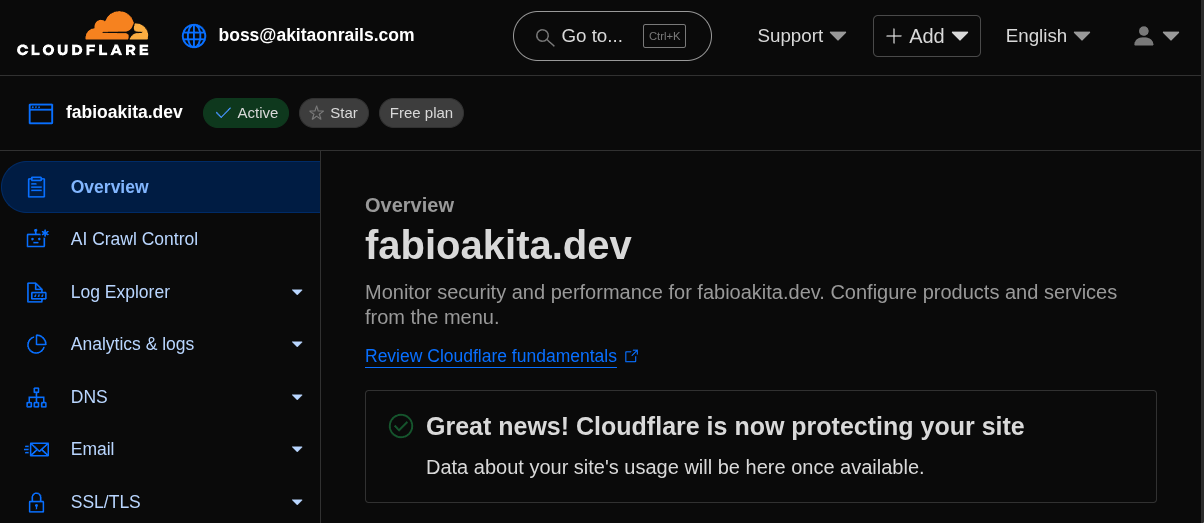
I have a few domains registered and I’m not going to reveal which one I use for my Home Server. I’ll use this empty fabioakita.dev as an example just for this post.
Domains are cheap, around USD 12 per year, depending on the name you choose. Pick one that’s short and easy to type.
2. Installing Cloudflared
With the domain created, now we need to install the cloudflared service on the Home Server. It’s the one that connects to Cloudflare’s servers and opens the tunnel into my local server. Click the link for installation instructions, but on an Ubuntu Server 22.04 it goes like this:
# Add cloudflare gpg key
sudo mkdir -p --mode=0755 /usr/share/keyrings
curl -fsSL https://pkg.cloudflare.com/cloudflare-main.gpg | sudo tee /usr/share/keyrings/cloudflare-main.gpg >/dev/null

# Add this repo to your apt repositories
echo 'deb [signed-by=/usr/share/keyrings/cloudflare-main.gpg] https://pkg.cloudflare.com/cloudflared jammy main' | sudo tee /etc/apt/sources.list.d/cloudflared.list

# install cloudflared
sudo apt-get update && sudo apt-get install cloudflared
Now we need to log in:
# login
sudo cloudflared tunnel login

# add the homelab tunnel
sudo cloudflared tunnel create homelab

# create the config directory
sudo mkdir -p /etc/cloudflared
Use the same credentials you use to log in to the Cloudflare website. If everything goes well, at the end it will create a file at /root/.cloudflared/xxxxx-yyyy-zzzz...json, which holds your credentials, just like an SSH private key, so don’t throw it on a USB stick or some cloud drive. Keep it very safe. Let’s move it:
sudo mv /root/.cloudflared/*.json /etc/cloudflared
sudo chmod 600 /etc/cloudflared/*.json
Finally, we need to create a configuration file /etc/cloudflared/config.yml with all the hostnames we want for each of the containers, pointing to the correct ports. Here’s a snippet of my config, modified with fake IPs and the fake domain:
# /etc/cloudflared/config.yml
tunnel: homelab
credentials-file: /etc/cloudflared/xxxx-yyyy-....json
ingress:
  ...
  - hostname: plex.fabioakita.dev
    service: http://192.168.0.254:32400
    originRequest:
      httpHostHeader: plex.fabioakita.dev
  - hostname: immich.fabioakita.dev
    service: http://192.168.0.200:2283
    originRequest:
      httpHostHeader: immich.fabioakita.dev
  - hostname: overseer.fabioakita.dev
    service: http://192.168.0.200:5055
    originRequest:
      httpHostHeader: overseer.fabioakita.dev
  - hostname: syncthing.fabioakita.dev
    service: http://192.168.0.200:8384
    originRequest:
      httpHostHeader: qbittorrent.fabioakita.dev
  - hostname: radarr.fabioakita.dev
    service: http://192.168.0.200:7878
    originRequest:
      httpHostHeader: radarr.fabioakita.dev
  - hostname: sonarr.fabioakita.dev
    service: http://192.168.0.200:8989
    originRequest:
      httpHostHeader: sonarr.fabioakita.dev
  - hostname: bazarr.fabioakita.dev
    service: http://192.168.0.200:6767
    originRequest:
      httpHostHeader: bazarr.fabioakita.dev
  - hostname: prowlarr.fabioakita.dev
    service: http://192.168.0.200:9696
    originRequest:
      httpHostHeader: prowlarr.fabioakita.dev
  - hostname: portainer.fabioakita.dev
    service: http://192.168.0.200:9000
    originRequest:
      httpHostHeader: portainer.fabioakita.dev
  - hostname: grafana.fabioakita.dev
    service: http://192.168.0.200:3001
    originRequest:
      httpHostHeader: grafana.fabioakita.dev
  - service: http_status:404 # this has to be the LAST ONE
As you can see, it’s an extremely simple file. I think anyone can understand what it does. Modify it for your own needs.
After saving the file and going back to the command line, you have to manually run this command for each hostname:
sudo cloudflared tunnel route dns homelab plex.fabioakita.devBut that’s a lot of work with this many hostnames, so I found it easier to create a script /etc/cloudflared/add.sh like this:
# run only once
TUN=homelab
CONF=/etc/cloudflared/config.yml
grep -E '^[[:space:]]*-[[:space:]]*hostname:' "$CONF" \
| awk '{print $3}' | tr -d '"' | tr -d "'" \
| while read -r h; do
    echo "adding $h"
    sudo cloudflared tunnel route dns "$TUN" "$h"
  done
Now just run: sudo sh /etc/cloudflared/add.sh, only once! So make sure your config file is correct first!
Finally, we can configure the service to restart by itself on every boot:
sudo cloudflared --config /etc/cloudflared/config.yml service install

sudo systemctl enable --now cloudflared
3. Accessing your services via the tunnel
If nothing went wrong, you’re done! You can go straight to your browser and test it:
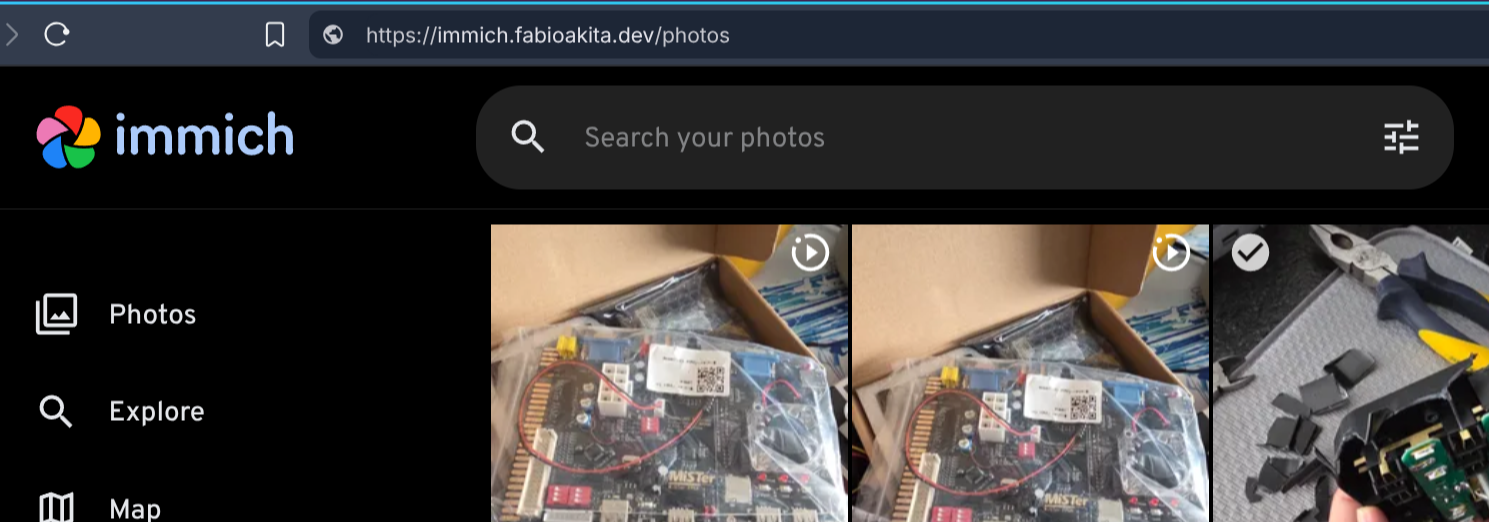
How cool is that. Notice in the URL bar I typed https://immich.fabioakita.dev and it just worked. By the way, if you didn’t know it, Immich works identically to Google Photos, except entirely under your control! It has a smartphone app and syncs nicely.
More importantly, notice it’s on HTTPS, which was provided by Cloudflare for my entire domain. When I log in, it will go through an encrypted tunnel. And more than that: even if I’m on 5G, away from home, on my phone, I’ll be able to access my photos using this address!
From my phone it opens a secure tunnel to Cloudflare, and that cloudflared service on my home server also has a secure tunnel open to Cloudflare, so Cloudflare bridges the two tunnels and done! I have remote access without exposing my server directly to the internet! The best of both worlds!
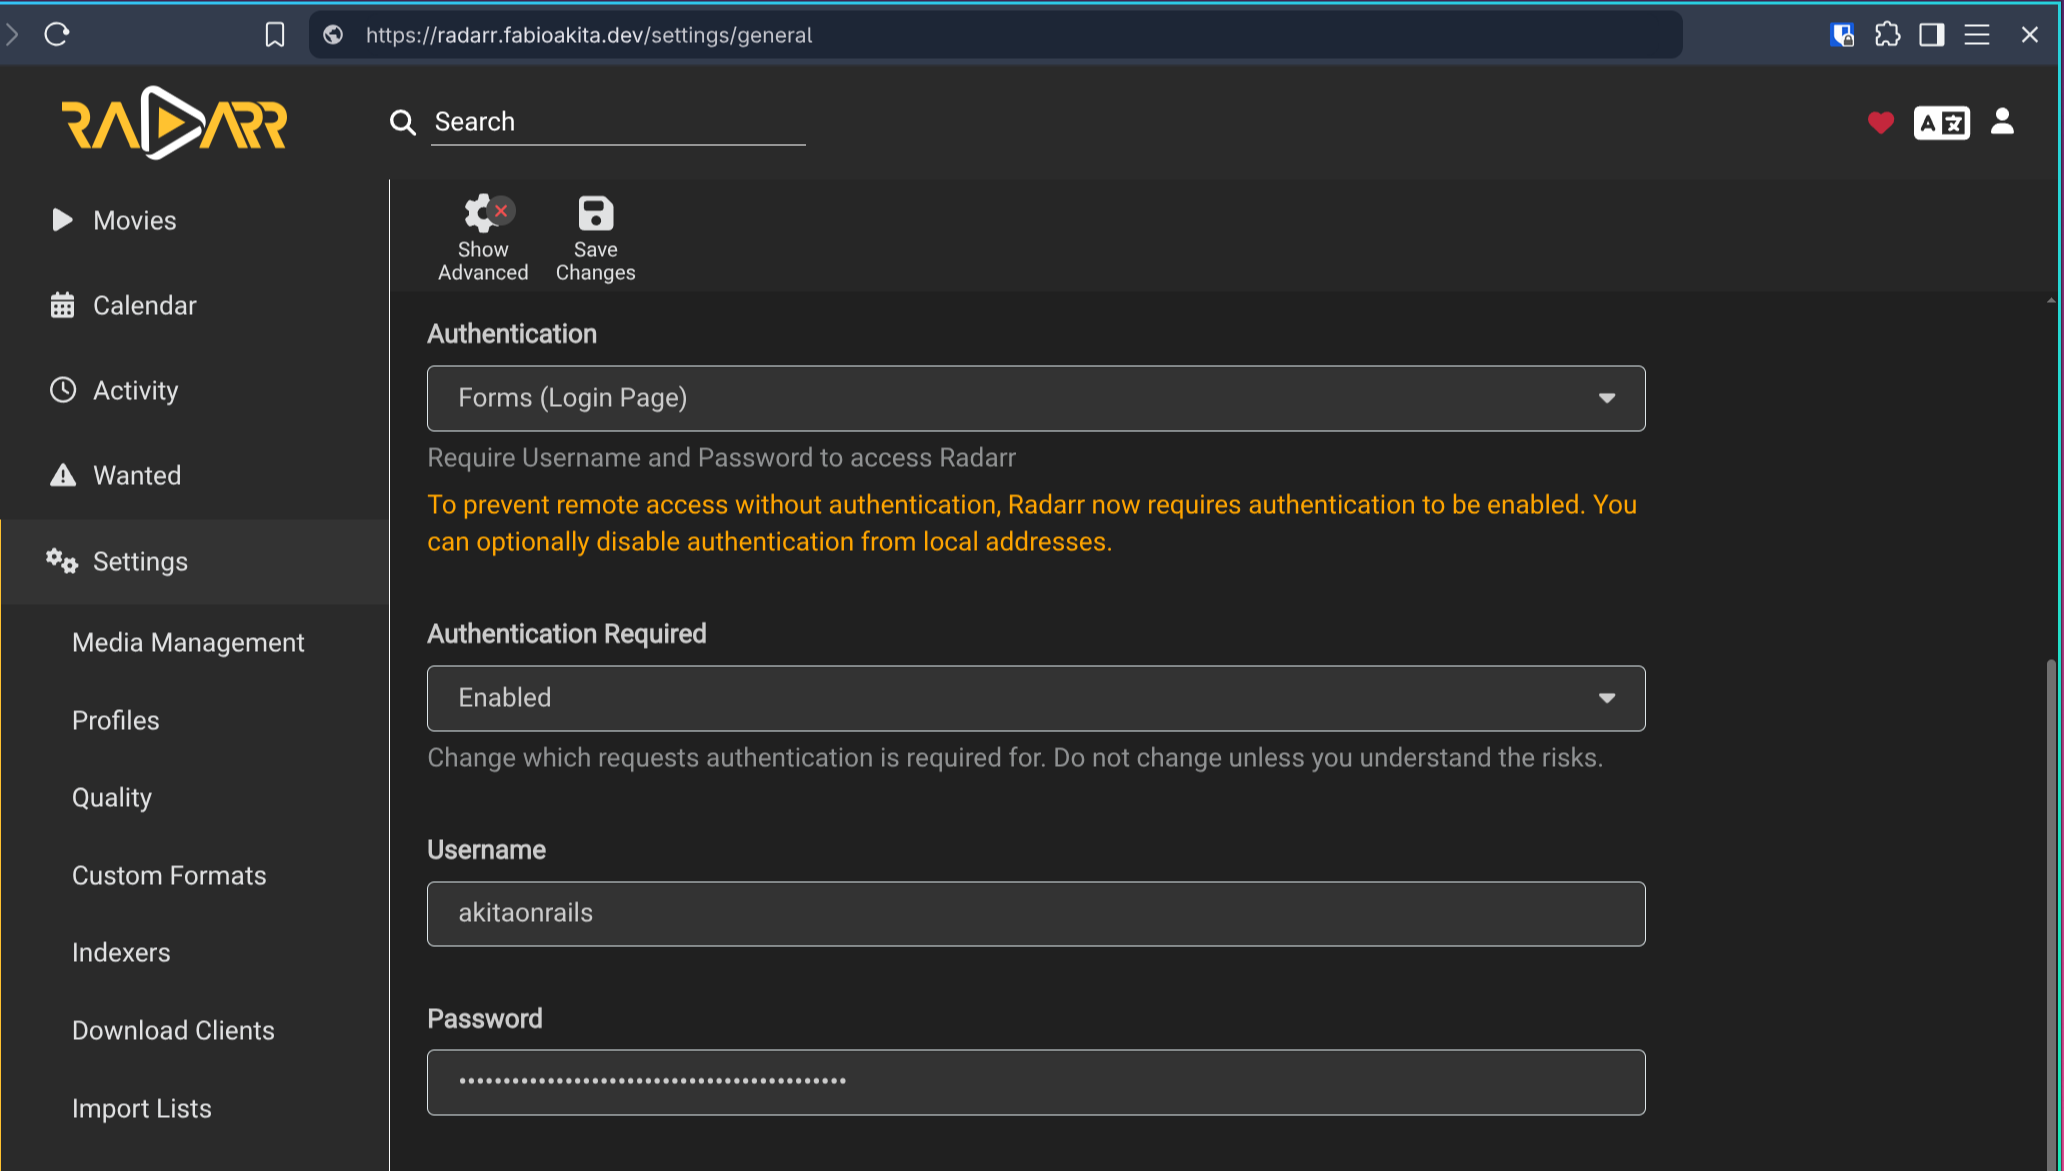
Don’t forget to configure all your services with strong passwords (I generate them via Bitwarden, but any service works, 1Password or whatever):
4. Bridge to vlans
I don’t remember exactly why, but my Plex container alone gave me more trouble. That’s because it uses a different VLAN than the others. Again, I don’t remember why I did this at the time, but it looks like this:
  plex:
    #image: plexinc/pms-docker:latest
    image: linuxserver/plex:latest
    restart: unless-stopped
    environment:
      - TZ=America/Sao_Paulo
      - PUID=1026
      - PGID=1026
      - VA_DRIVER=IHD
      - PLEX_HW_TRANS_MAX=16
      - PLEX_MEDIA_SERVER_OPTS=--network-host
    volumes:
      - /config:/config
      - /data:/data
      - /transcode:/transcode
      - /Videos:/media
    devices:
      - /dev/dri:/dev/dri
      - /dev/bus/usb:/dev/bus/usb
    healthcheck:
      test: curl --connect-timeout 15 --silent --show-error --fail http://localhost:32400/identity
      interval: 1m00s
      timeout: 15s
      retries: 3
      start_period: 1m00s
    mem_limit: 4g
    cpus: 5.0
    networks:
      plex_macvlan:
        ipv4_address: 192.168.0.254
        mac_address: "xx:xx:xx:xx:xx:xx"

networks:
  plex_macvlan:
    external: true
    name: plex_macvlan
Because of this, cloudflared can’t route to that container. The way to fix it is by creating a bridge from that vlan to my ethernet.
sudo ip link add macvlan0 link enp3s0 type macvlan mode bridge
sudo ip addr add 192.168.0.200/24 dev macvlan0   # free IP in your LAN
sudo ip link set macvlan0 up
Obviously, replace enp3s0 with the correct name of your ethernet interface. Check with ip addr or ip link, for example. Just by running the commands above, if I go to the browser and type https://plex.fabioakita.dev it should already work. To make this permanent, we need systemd:
# /etc/systemd/network/80-macvlan0.netdev
[NetDev]
Name=macvlan0
Kind=macvlan

[MACVLAN]
Mode=bridge
# /etc/systemd/network/80-macvlan0.network
[Match]
Name=macvlan0
[Network]
Address=192.168.0.200/24
Gateway=192.168.0.1
DNS=192.168.0.1And now, just restart the services:
sudo systemctl restart systemd-networkd
ip addr show macvlan0
The “correct” thing would be to have my Plex configured with network_mode: host, but, again, I don’t remember why it wasn’t, and I wasn’t in the mood to unconfigure everything just to find out. In case anyone has similar setups, this is how you bypass it.
Speaking of Plex, I had heard that you have to be careful with streaming via cloudflared, I don’t know if there are limits or extra costs. I found this article that talks more about it but I didn’t stop to look into it deeply. The only extra thing I did, on the Cloudflare dashboard, was add a rule to not do CACHING on the plex subdomain, to avoid additional costs.
Conclusion
As you can see, it’s extremely easy to have a home server, isolate everything with Docker, and then expose your containers via a secure tunnel for remote access. None of this means instant security. Make sure your containers are always up to date using services like Watchtower, make sure each service has strong, random, unique passwords - don’t use the same password for everything. Make sure your firewall is well configured and active, even on a LAN.
Many modern Wi-Fi routers let you create a separate VLAN for guest Wi-Fi. That way guests can use your Wi-Fi but can’t see your computers, which will be logically isolated on another VLAN. Check your router’s documentation. I use a TP-Link BE1900 Tri-Band Wi-Fi 7, but for most people it’s too expensive and overkill. Do your research. And don’t bother asking me about other models: I haven’t tested all of them to know the differences.
If you saw names like Radarr, Sonarr and don’t know what they mean, read the Servarr Wiki, which consolidates all the documentation for these services in one place. It’s the infrastructure that lets you have your own “Personal Netflix”.
Also, don’t ask me why I use Plex and not Jellyfin. It’s a personal choice, pick what’s best for you. I like Plex, I’ve used Jellyfin, and I don’t plan to switch.
I hate the idea of paying subscriptions for everything and owning nothing. I think it’s money thrown away. I prefer to OWN my own things under MY CONTROL. It’s more expensive, it’s more work. Too much convenience means you have control over nothing and always depend on others.
I hate depending on others.